How to organize a scientific conference
A scientific conference is in practice two projects at once. The first is scholarly: the call for papers, the reviews, the committee's decisions and a programme built from the accepted talks. The second is logistical: attendee registration, conference fees, invoices for universities, accommodation and certificates. This guide walks through both in the SF-CONFERENCE system, in the order in which they really happen: from the call for papers, through the review, to registration and what comes after the conference.
The difference from other events sits in the calendar. The call for abstracts starts many months ahead, decisions fall before registration opens, and a good share of attendees sign up only once their paper is accepted. On top of that one person is often in several roles at once: an author, a reviewer and an ordinary attendee. The system is ready for that, because roles are assigned to people independently, in one panel and on one list.
If your conference runs no call for papers, this guide is not for you: the guide about an in-person event is enough. If it does, read on in order, because the order of the chapters follows the order of the decisions.
Decisions worth making at the start
Before anything exists in the panel, the committee should settle the calendar: the deadline for abstracts, the decision date, the date authors pay their fees by and the date of the conference itself. These dates go onto the event website and into the forms, and every change to the call deadline means correspondence with the authors, so it is better to leave a margin from the start.
The second group of decisions concerns the call itself. The list of topics, that is the sessions or areas authors assign their papers to. The submission mode: single-stage, the abstract alone, or two-stage, an abstract and the full content after acceptance. The number of reviews per paper and whether the author sees the review content or only the decision. Finally the fees: a regular rate, a student or doctoral rate, a discount for society members and whether an author pays differently than a listener.
Creating the event and enabling the papers module
You create the event like any other, giving its name, web address, dates, languages and currency. The call for papers is a separate module: in the Settings entry, on the Modules tab, enable the switch responsible for papers. The side menu gains an entry with the list of papers, and in Forms a set of forms handling the submission, the abstract, the content, the opinion and the review.
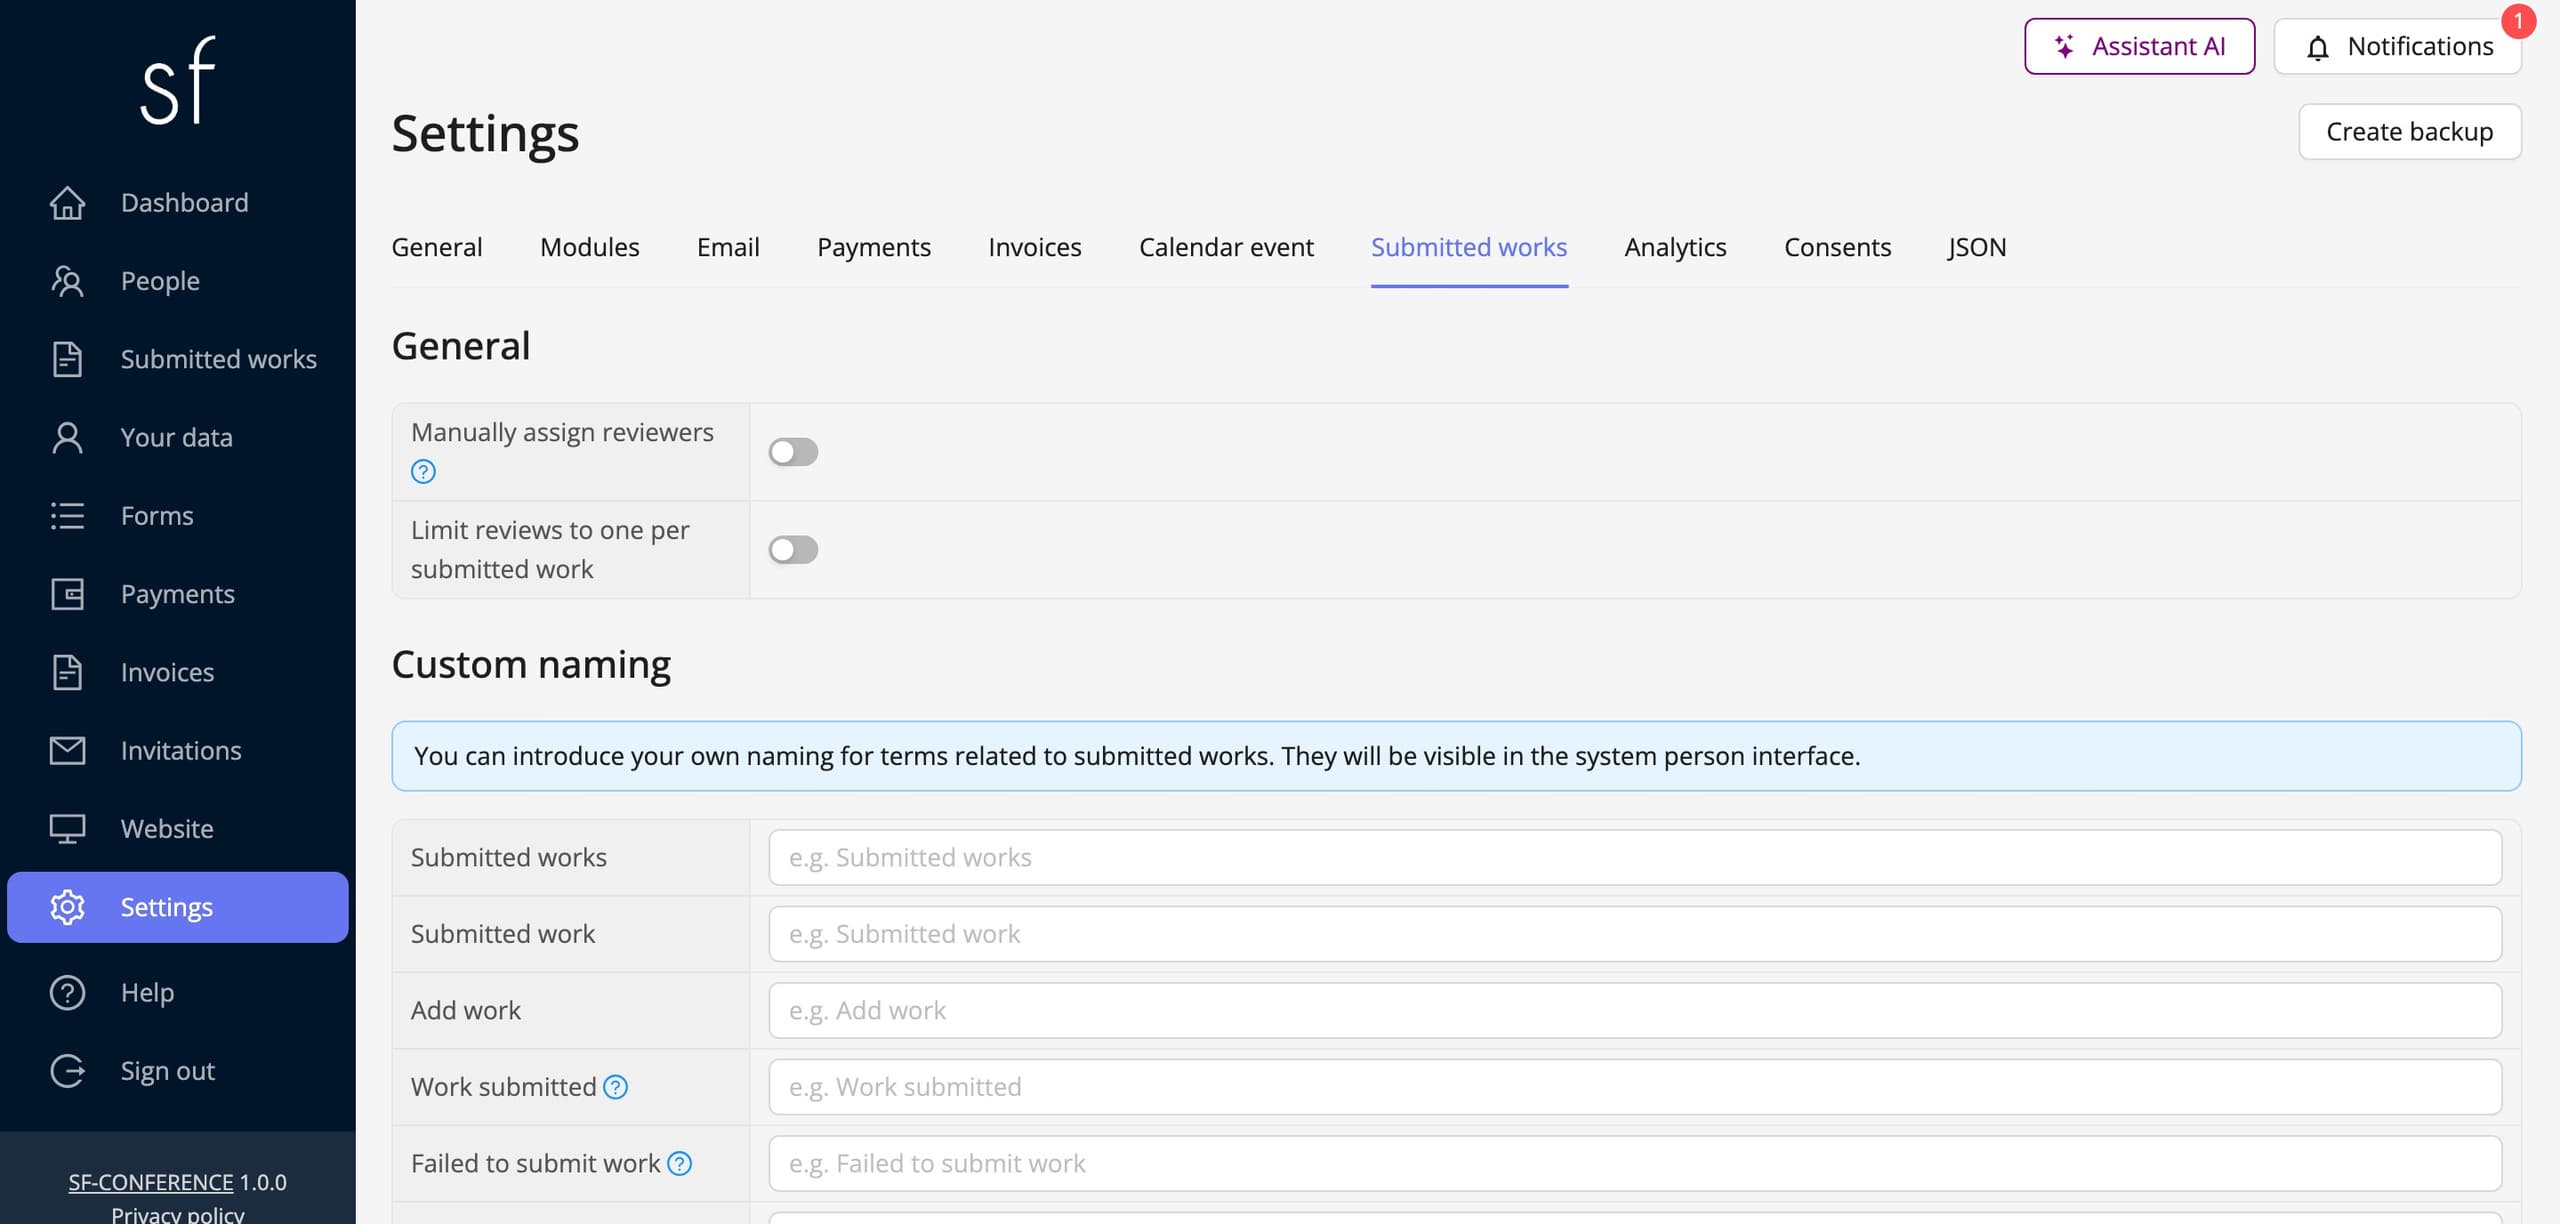
In the module settings you can also change the naming. If your field says „abstract”, „poster” or „communication”, and not „paper”, the system will use that name everywhere, including the messages to authors. It is also worth building the event website right away, with the scientific committee, the important dates and the rules of the call, which the building the event website instruction describes. That is the page every mail with an invitation to submit will point to.
The call for papers: topics and the submission form
Before opening the call, define the topics. They organize the author's choice, and later serve you to distribute papers among reviewers by competence. The submission form itself you build like any other: title, keywords, co-authors, affiliation, with one thing worth doing consciously: mark the field with the paper title with the title property, so that lists and messages show the submission's name instead of a number.
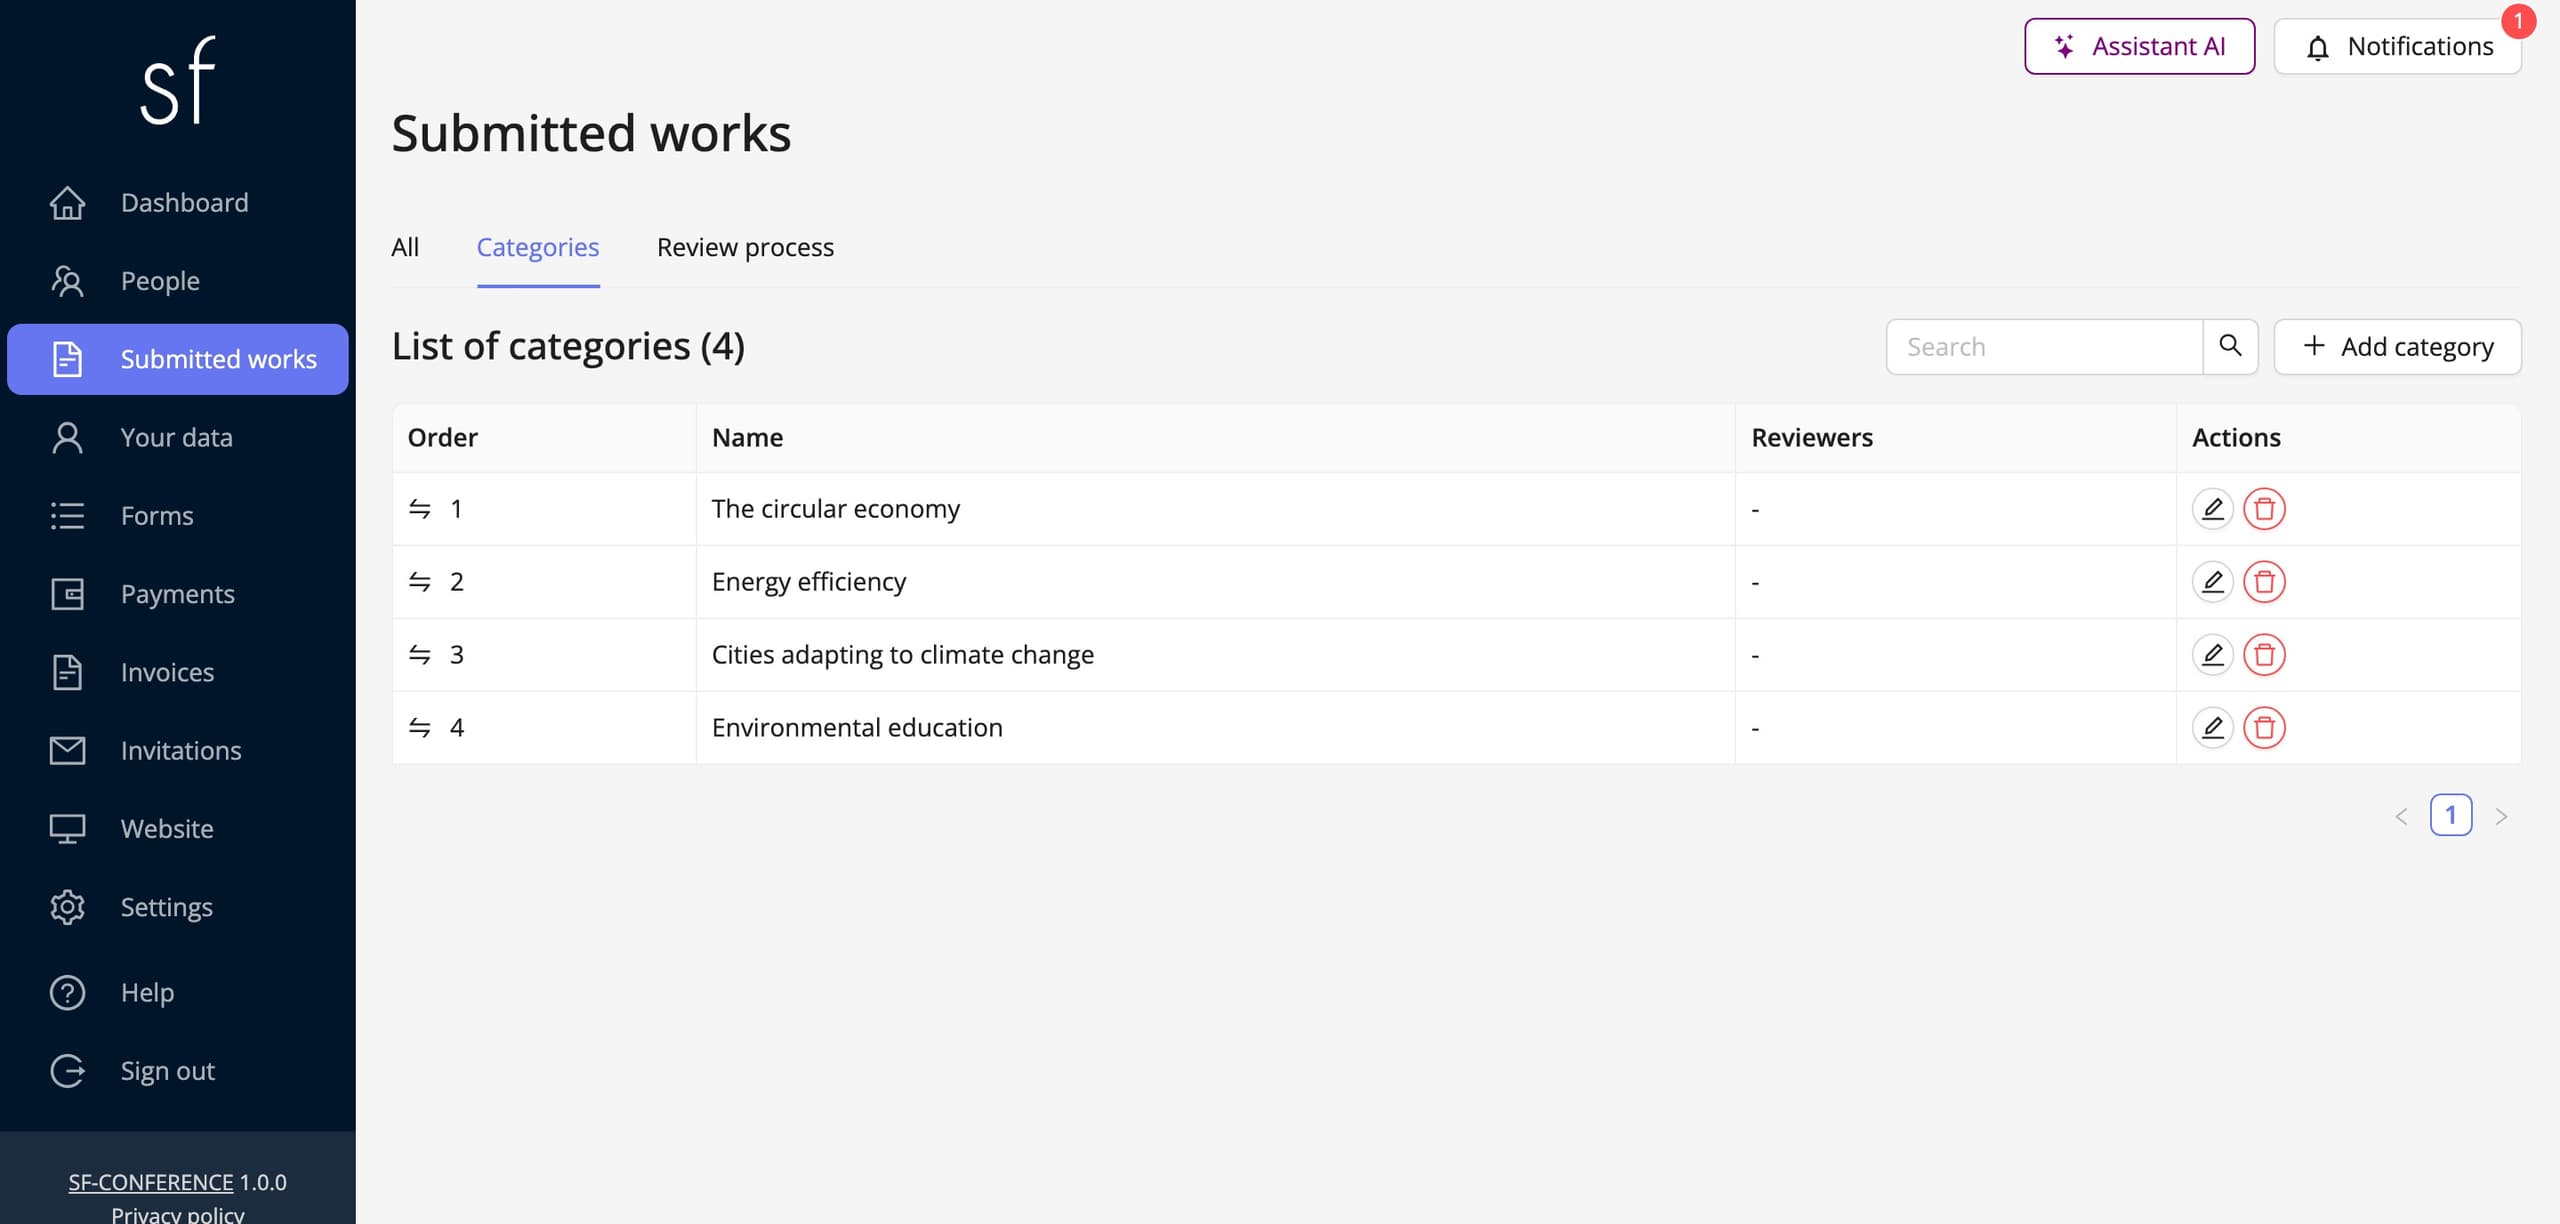
Submissions can run in two stages: first the abstract, and after its acceptance the full content as a PDF file, with a ZIP archive for additional materials. Both stages have separate forms and separate deadlines, which you set with the form status, exactly as with registration. The call then closes by itself at the appointed hour and nobody negotiates with the system after the deadline. The details are covered by the collecting papers and running the review instruction.
The review and the committee's decisions
A reviewer is a role in the system, so you add a committee member like any other person, granting them the right role. Reviewers log into the same panel but see only the papers assigned to them. Assignment can be manual or automatic by topic, and a module setting decides whether a paper gets one review or several independent ones. The review sheet is a form you lay out your own way: a point scale, open questions, a recommendation.
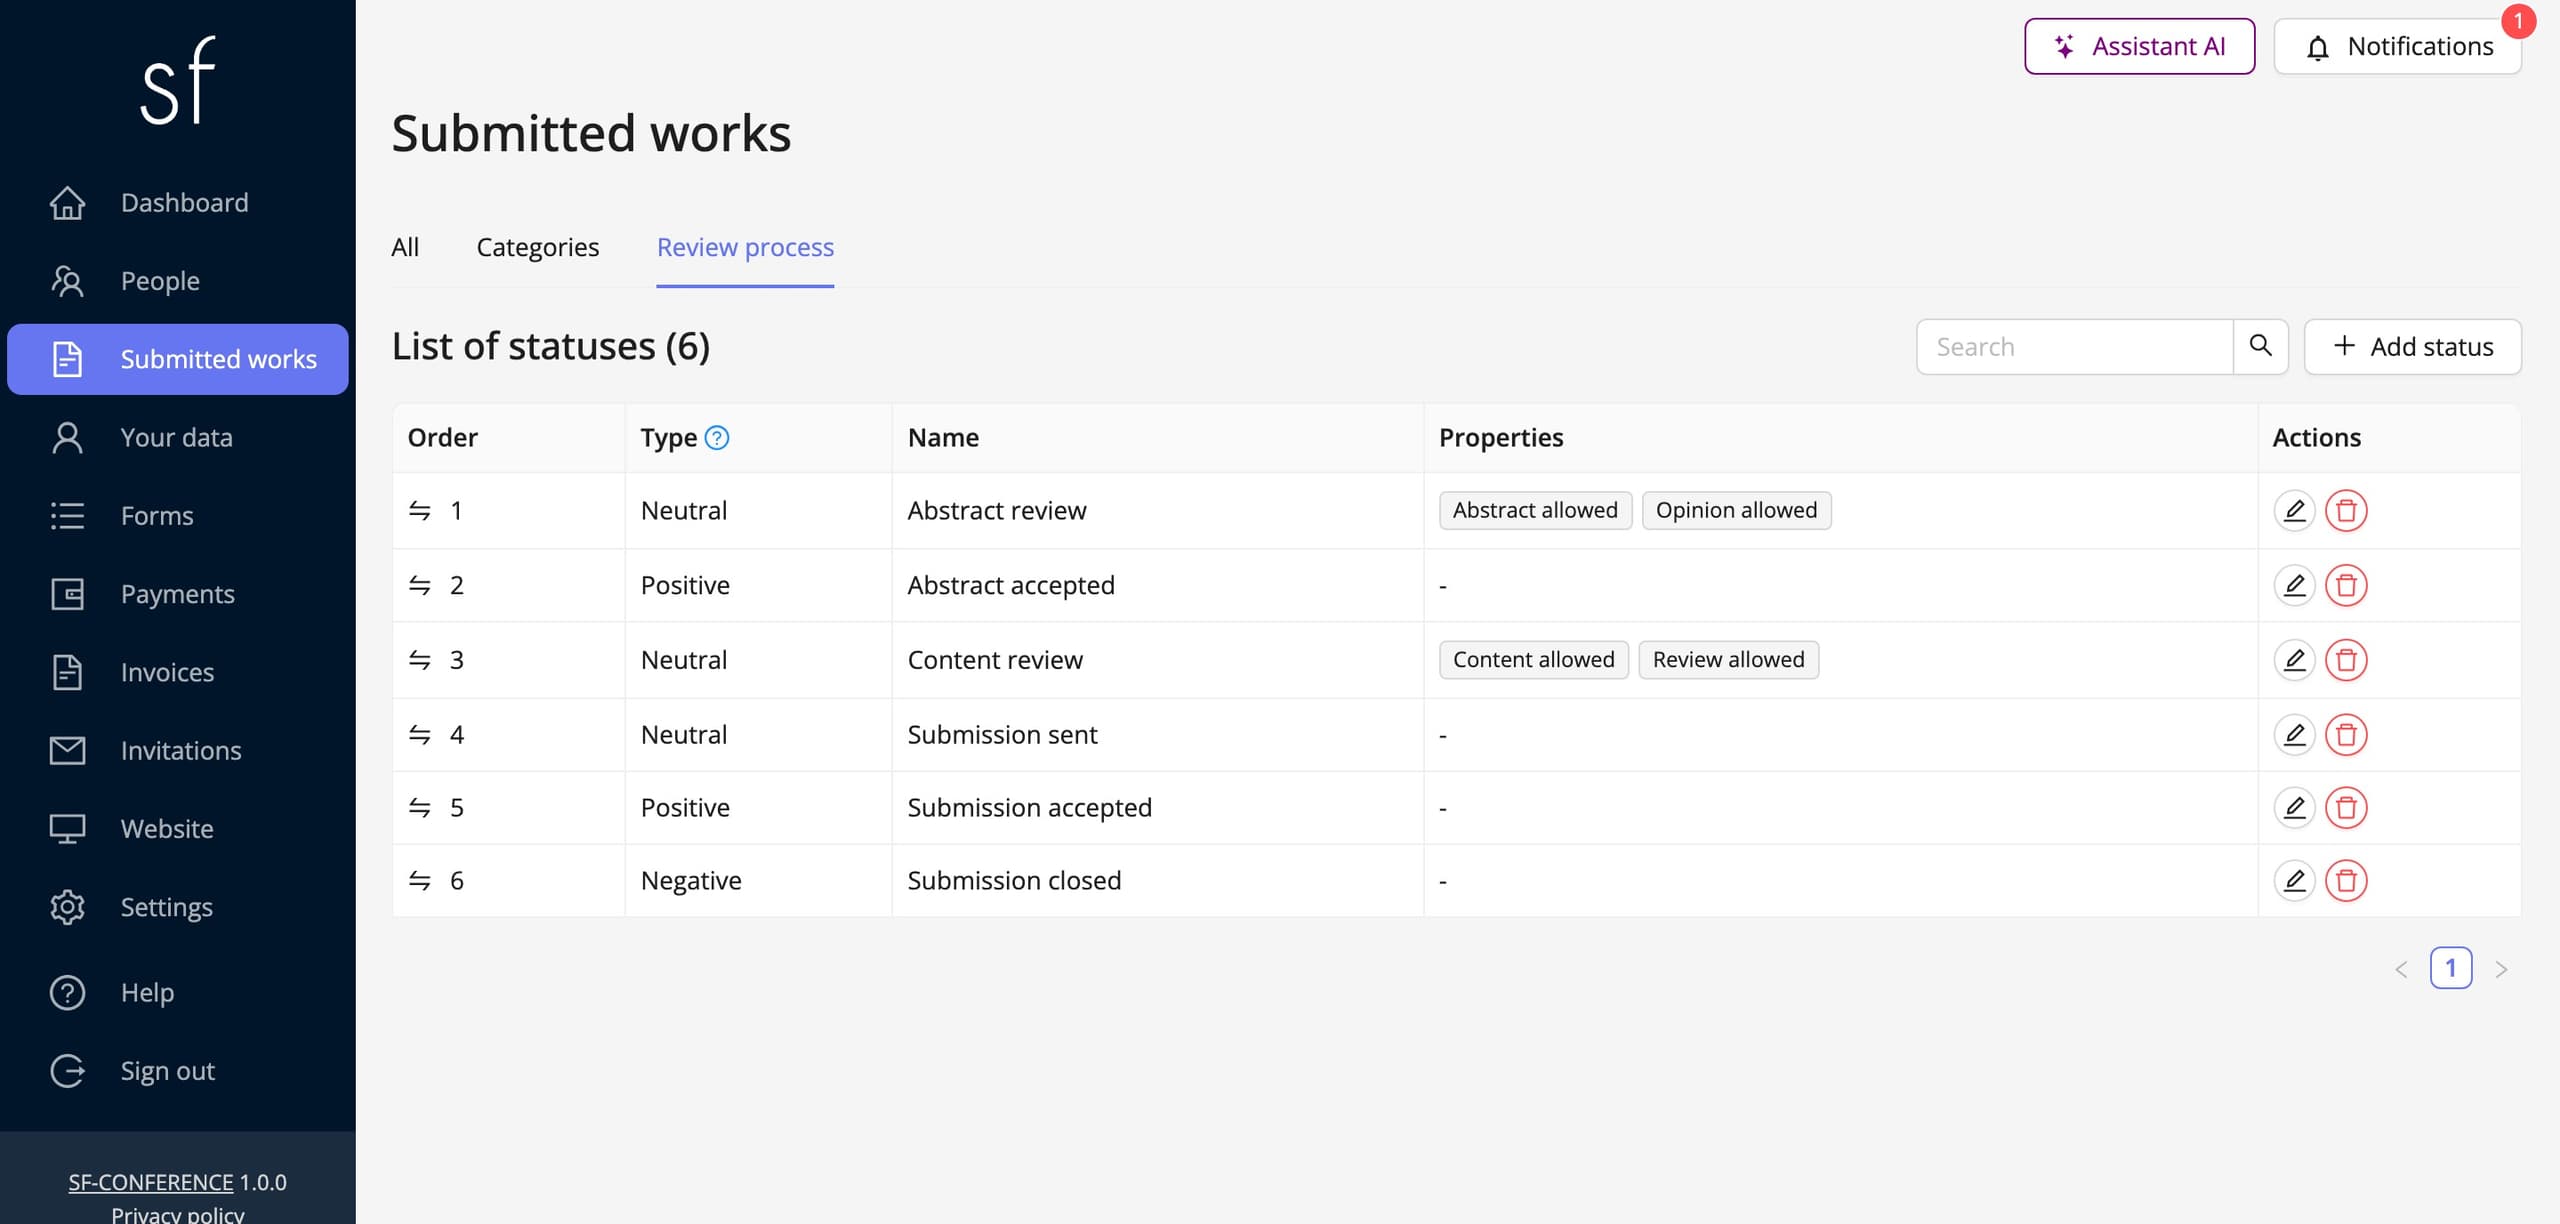
Every submission has a status that leads it through the process: abstract review, abstract accepted, content review, submission accepted or rejected. A status change can automatically send a message to the author, and statuses can also be changed in bulk for the selected papers, which saves hours of clicking when announcing decisions. Whether the author sees the review content or only the decision is an event setting.
Once the review is closed, the list of papers with their scores is downloaded to an XLS file, and the uploaded files in bulk, in a single download. That is the starting point for the conference programme and the book of abstracts. The programme with its sessions then goes into the agenda block on the event website.
Attendee registration and conference fees
Registration is best opened together with the announcement of the decisions, because authors sign up only once they know they will present. The registration form holds the first name, last name, an e-mail address with the contact address property and the affiliation, and then whatever helps with the organization: participation in the conference dinner, workshops or an excursion as choice fields with prices and seat limits.
Conference fees are built from the options of a single choice field: a regular rate, a student or doctoral rate, a discount for society members. The early-bird threshold is assembled from two options with disjoint availability windows, which the registration form editing instruction covers step by step. For invited speakers and the committee prepare discount codes waiving the fee, instead of adding them by hand outside the system.
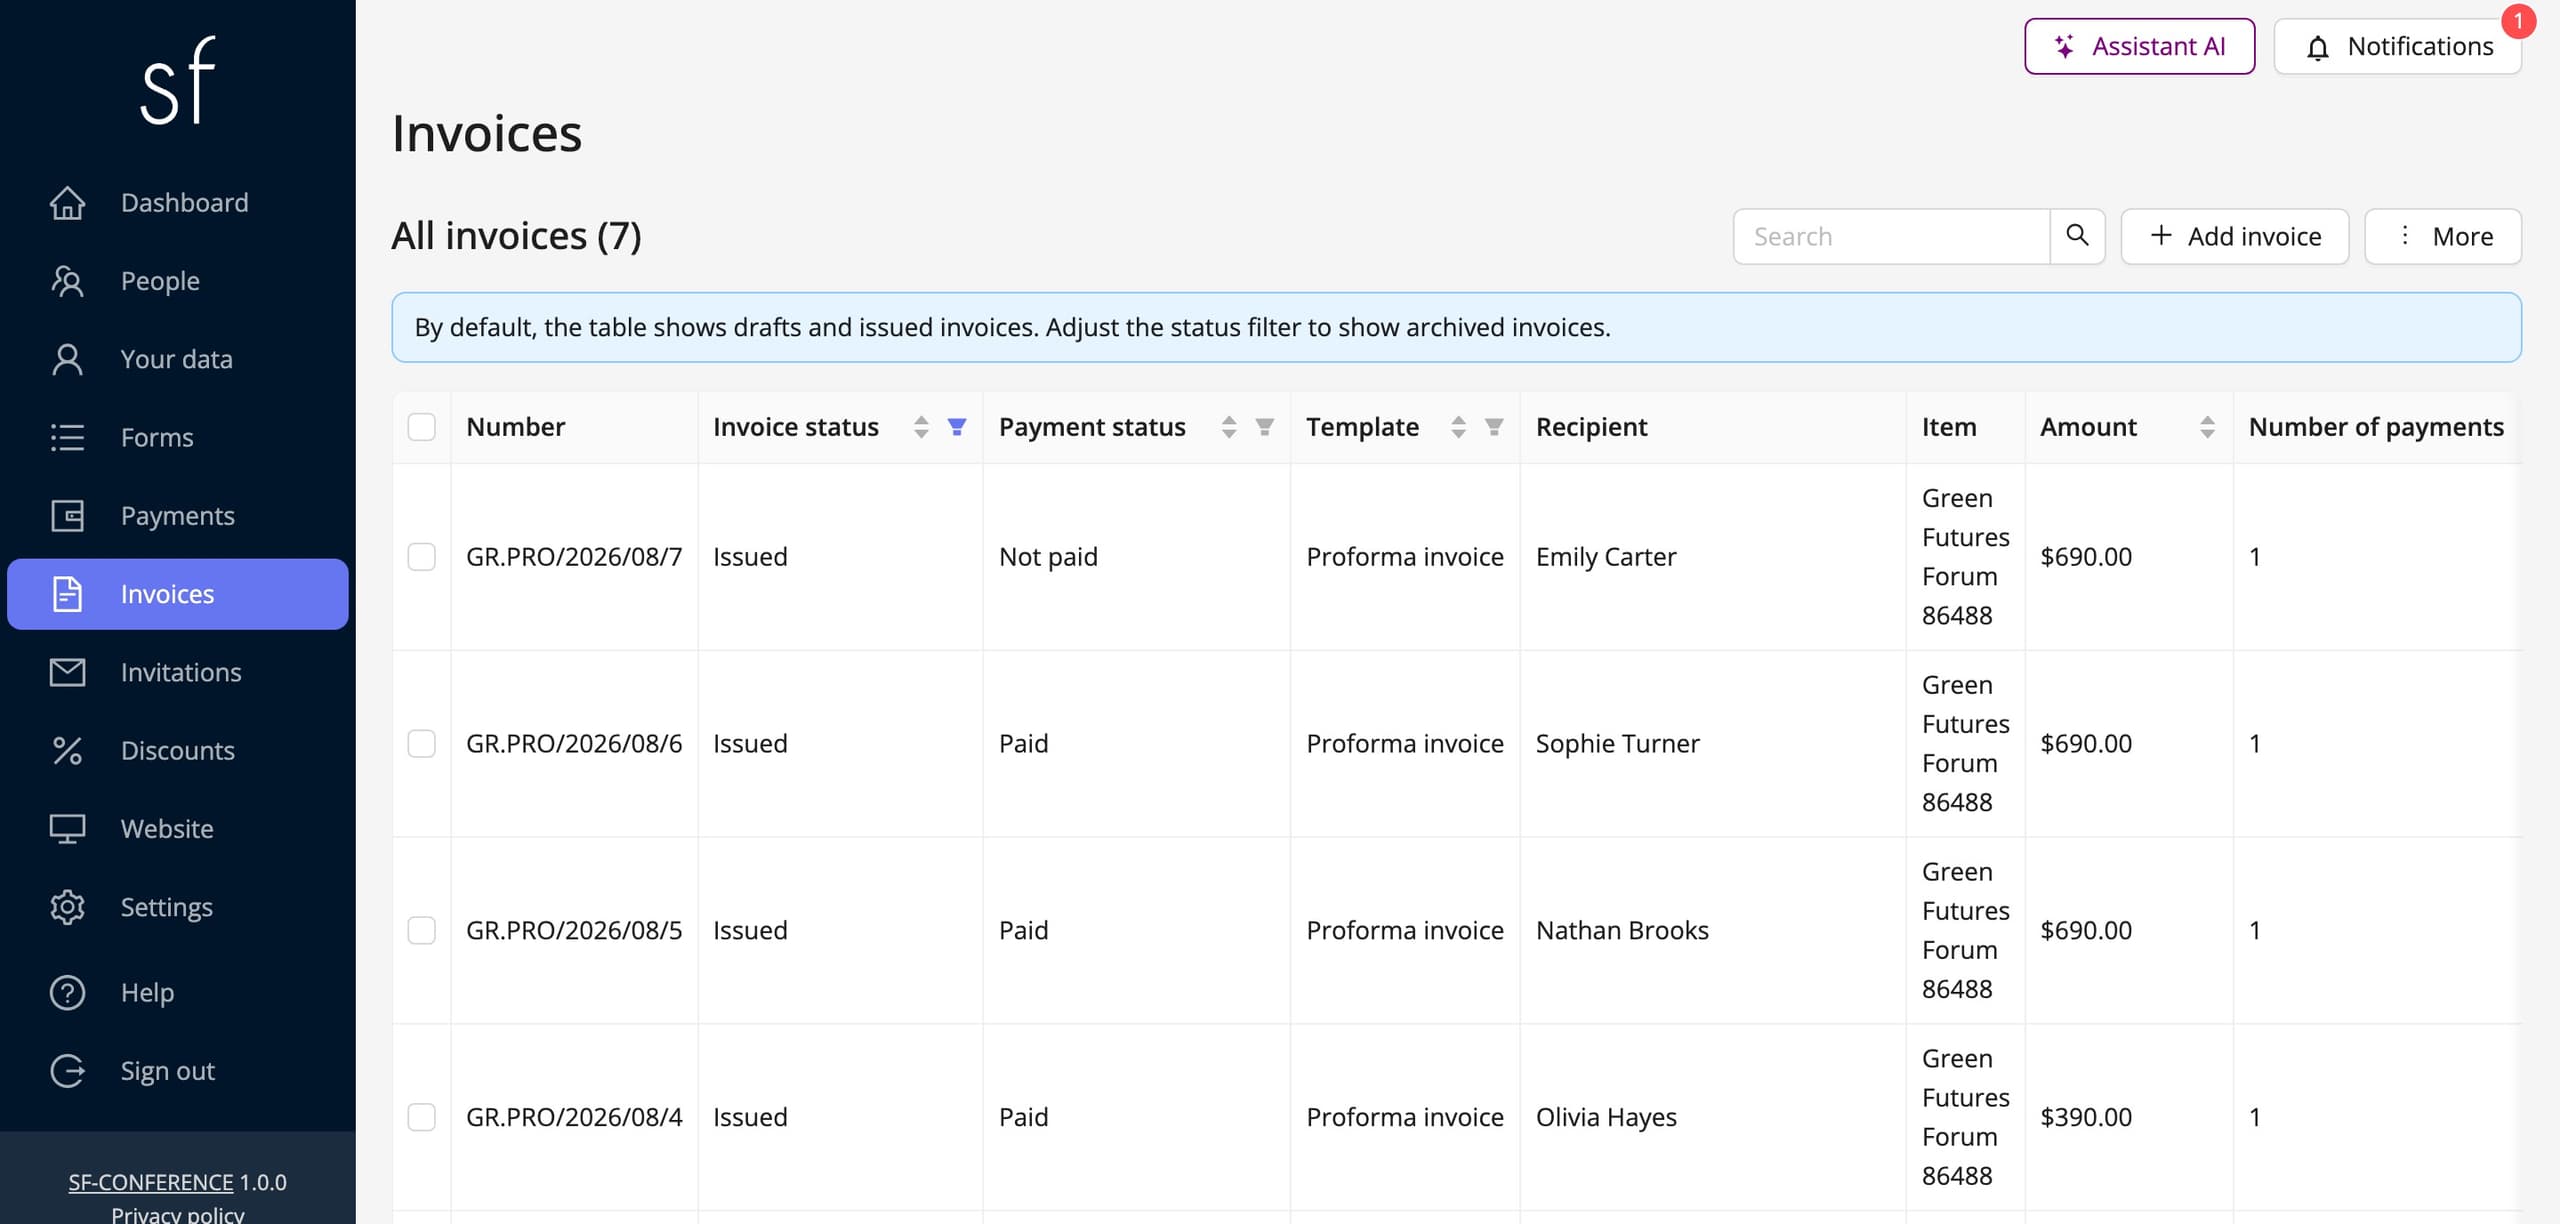
Payments have their own character here: a large share of the fees is paid by universities and institutes by transfer, against a proforma, often weeks after registration. So enable the traditional transfer alongside online payments, and in the form place the buyer data fields for the invoice, because the document is meant for the university, and not the attendee. Automatic proformas and invoices are configured by the collecting payments and issuing invoices instruction.
Accommodation for attendees
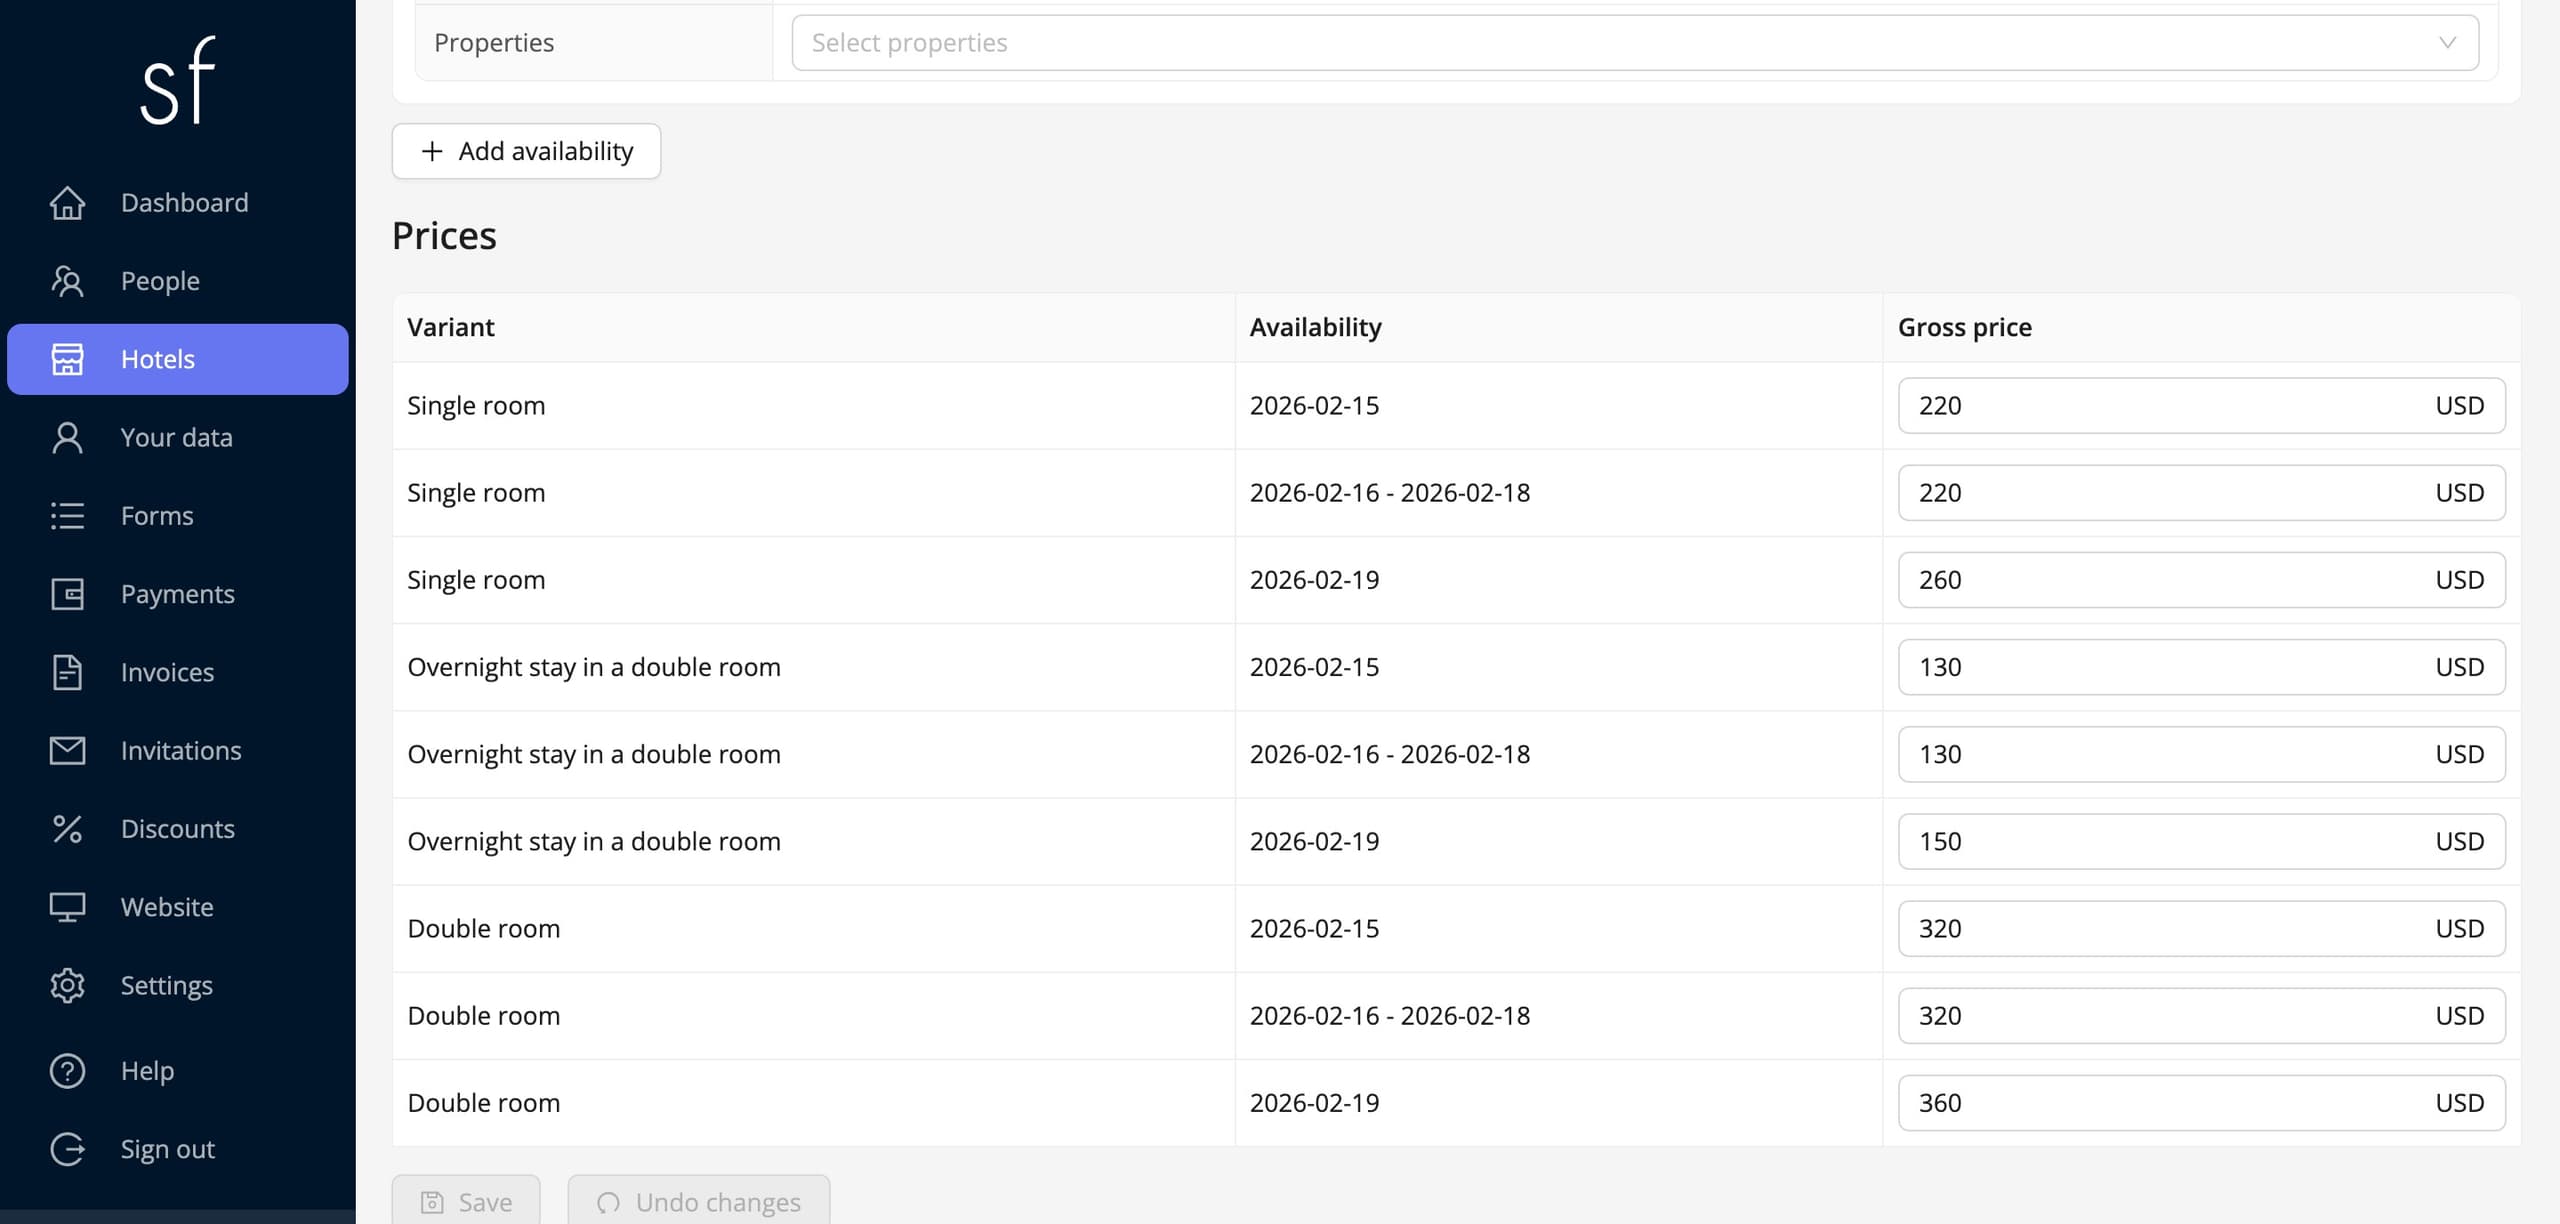
A scientific conference is usually a residential event, so the system has a separate accommodation module. In it you build the catalogue: hotels, rooms, occupancy variants, dates and the price of every combination, and then add a booking field to the registration form. The attendee picks their accommodation while signing up, its cost is added to the conference fee, and the system watches the vacancies. The whole path, from the hotel catalogue to the field in the form, is covered by the setting up accommodation instruction. One thing matters: the accommodation catalogue must exist before you open registration, because the booking field has nothing to show until it does.
Participation certificates
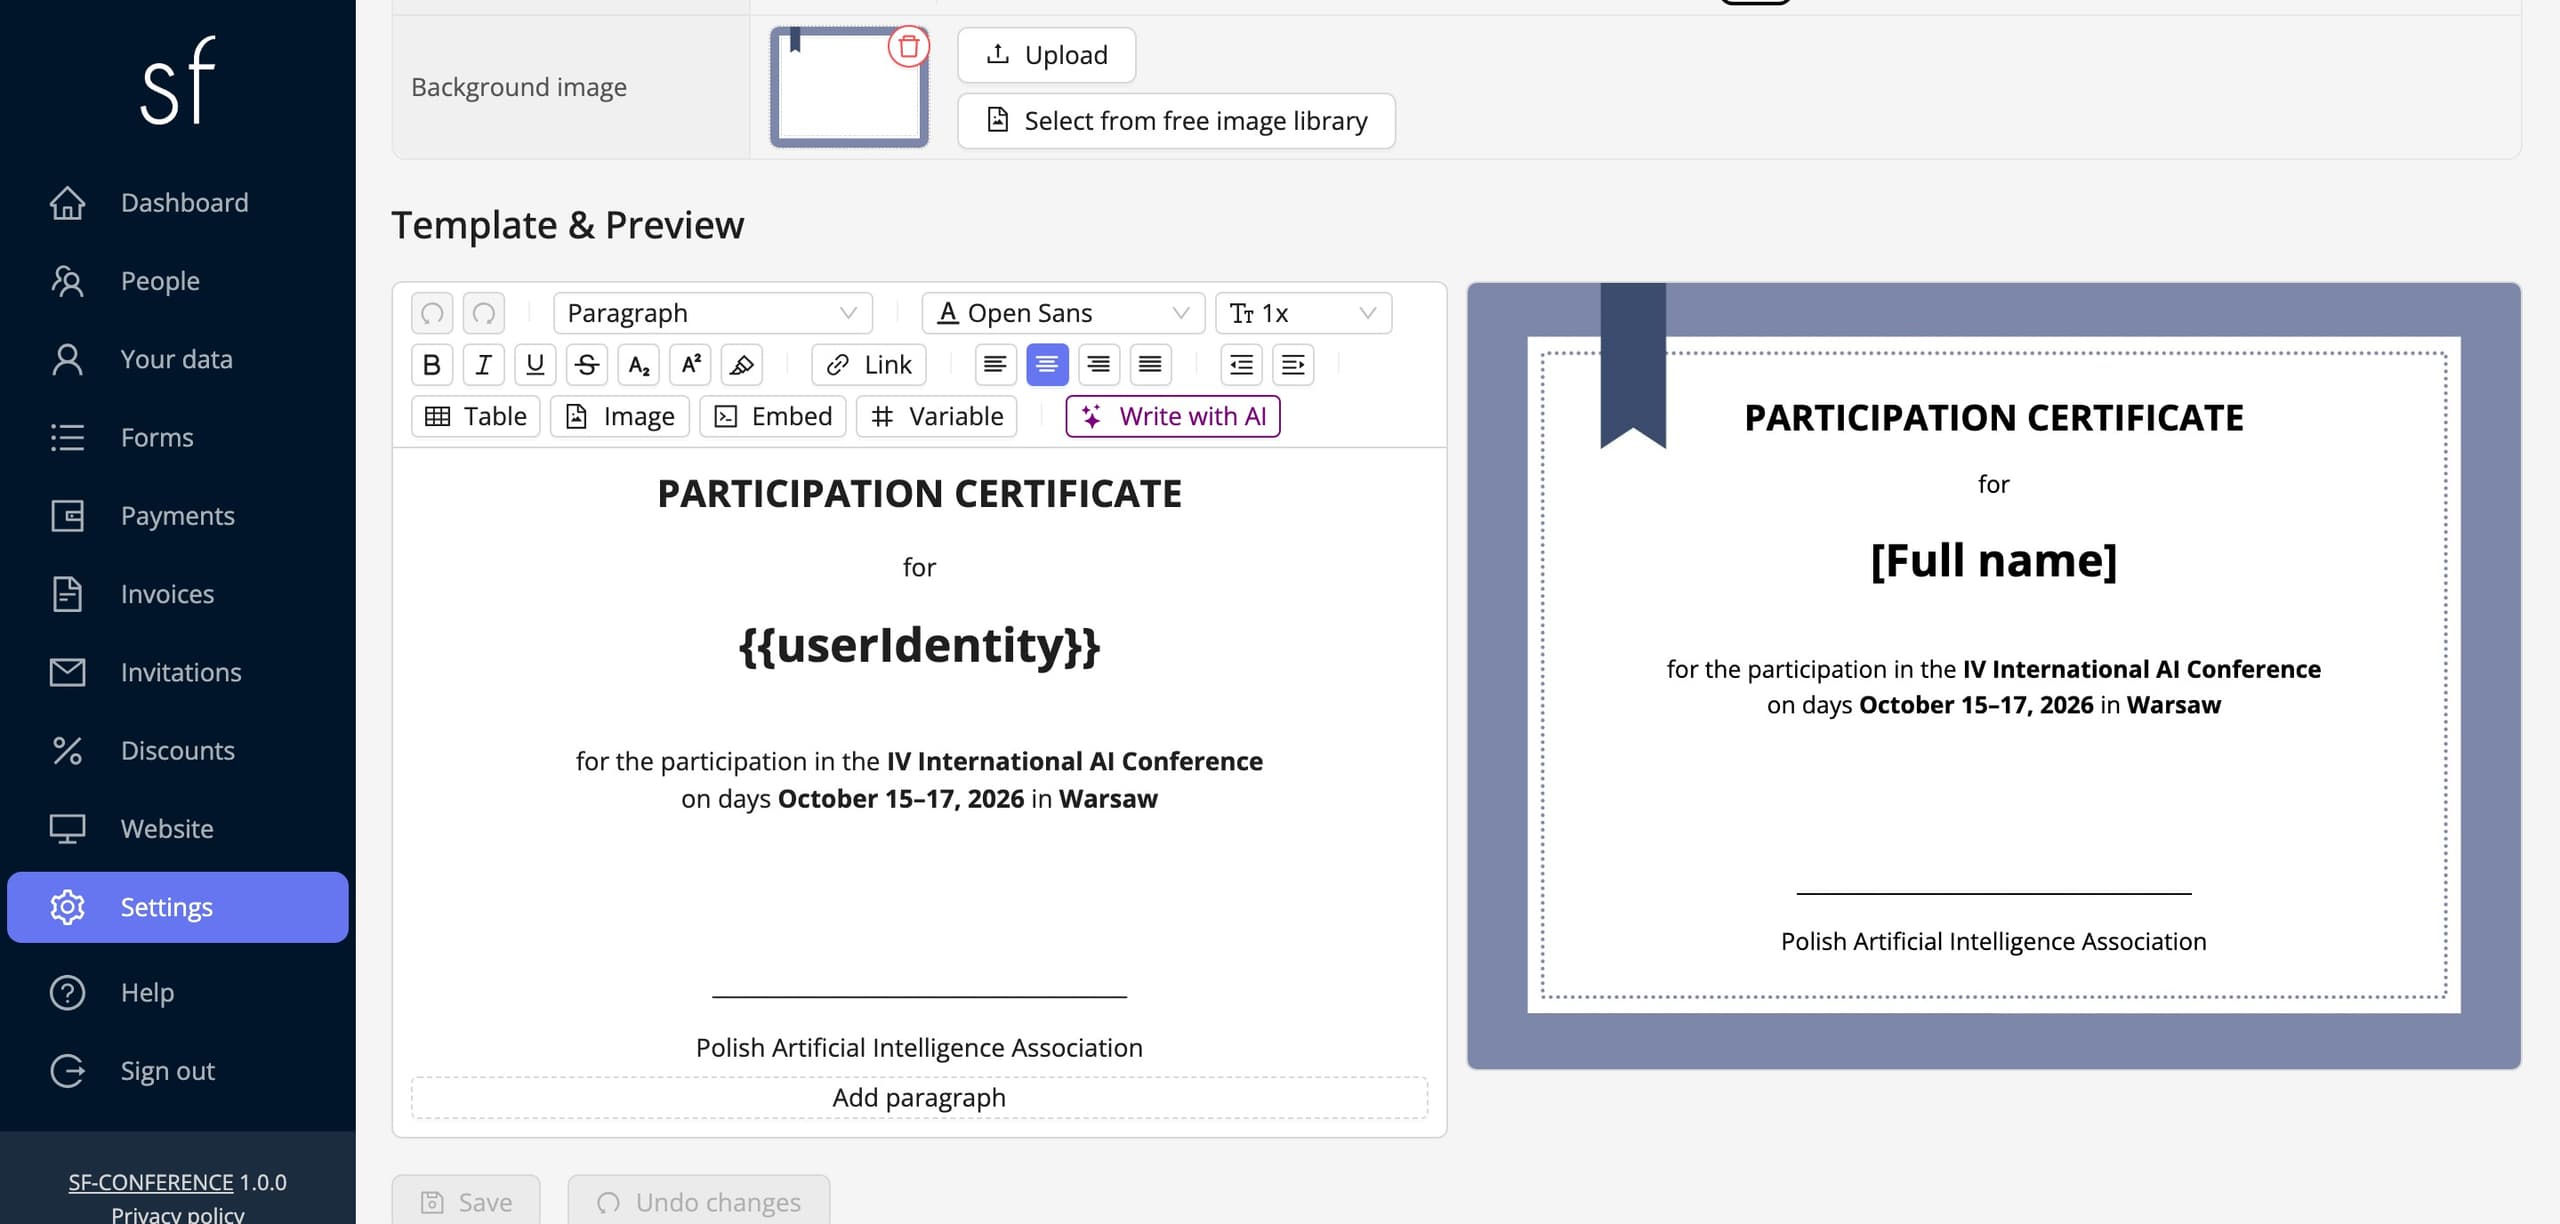
After the conference comes a wave of requests for certificates, and the system handles it without sending files one by one. In the Settings entry, on the Certificates tab, you set the document format, the background and the content in the Template & Preview section, with variables substituting the attendee's data. The Enabled for download switch makes the certificate available on the participation summary page, the same one where the attendee sees their registration, payment and invoice. So everyone downloads their own certificate themselves.
Good practice looks like this: you flip the switch only after the conference, and then from the People entry send a thank-you message in which the Participation summary link variable leads everyone to their own page. One message closes the certificate topic, and along the way carries the survey link and the post-conference materials.
The document format, the background and the variables in the template are covered step by step by the issuing certificates to attendees instruction.
The survey and closing the conference
The simplest way to collect feedback is an external form, anonymous and available without logging in, described by the collecting entries with an external form instruction. If, however, the certificate is meant only for people who filled in the evaluation, use a custom form tied to the attendee, following the running an attendee survey instruction. Finally download the lists: the attendees from the People entry, the papers with their scores from the review module, the answers from the survey. The committee gets a complete data set for its report, and you a ready starting point for the next edition.
A scientific conference step by step, in short
- Agree with the committee on the calendar of the call and the decisions, the topics, the submission mode and the fee rates.
- Create the event, enable the papers module on the Modules tab and adjust the naming to your field.
- Build the event website with the important dates, the committee and the rules of the call.
- Define the topics, lay out the submission form and open the call for papers with an automatic closing date.
- Add the reviewers, distribute the papers by topic and run the review on your own evaluation sheet.
- Announce the decisions with a bulk status change carrying an automatic message to the authors.
- Prepare the accommodation catalogue, and then open registration with the fee rates, the early-bird threshold and the accommodation booking field.
- Enable online payments and the traditional transfer, plus automatic proformas and invoices with the university's data.
- After the conference enable certificates on the Certificates tab and send a message with the participation summary link and the survey.
The logistics of the conference day itself, entry tickets with a QR code and scanning at the entrance, are described by the how to organize an in-person event guide, and planning from budget to promotion by the how to organize an event step by step guide.
See also
How to add accommodation
Build the catalogue: hotels, rooms, variants, periods and prices. Add an accommodation picker to the registration form.
How to edit the registration form
Add and change fields, set prices, dates and dependencies between answers and decide when registration is open.
How to collect papers and run the review
Run a call for papers: the submission form, topics, reviewers and submission statuses.

Complete event management on a single platform. An event website, attendee registration and a full set of organizer tools.
2026 © SF-LABS sp. z o.o. All rights reserved
Entered into the register of entrepreneurs of the National Court Register kept by the District Court for Kraków-Śródmieście in Kraków, 11th Commercial Division of the National Court Register, under KRS number 0000886671. Share capital amount: PLN 5,000.